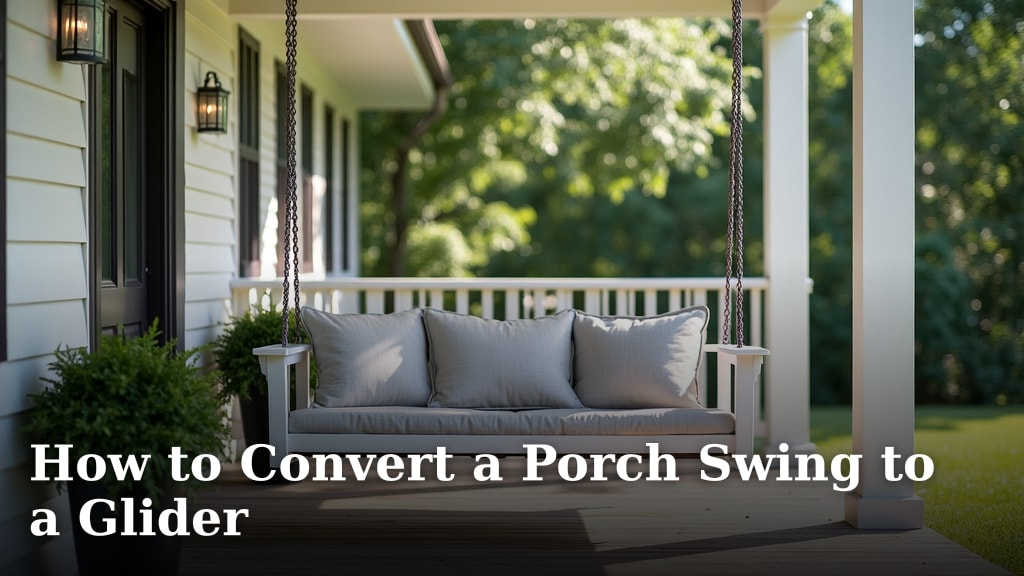
How to Convert a Porch Swing to a Glider
Transforming Your Porch Swing Into a Smooth Glider
You can convert a standard porch swing into a smooth glider by replacing its stationary chains or ropes with a specialized glider mechanism. This kit allows the seat to move in a gentle, back-and-forth motion while the frame stays fixed.
Many homeowners find this a rewarding weekend project. It can give new life to a beloved piece of outdoor furniture. The process involves careful measurement, securing the right hardware, and following a clear set of steps. We found that with the right tools and a bit of patience, most people can complete this conversion safely.
Understanding the Core Concept
At its heart, a glider swing uses a system of interconnected bars and pivots. These components convert a simple push into a flowing, horizontal movement. Unlike a traditional swing that moves in an arc, a glider travels on a nearly flat plane. This smoother motion is often easier on the body.
Think of it like the difference between rocking in a chair and sliding on a playground swing. The goal is to replace the fixed hanging point with a moving linkage. This fundamental change is what creates the signature glide.
Why People Choose a Glider Conversion
The primary motivation is comfort. The smooth motion can be more relaxing, especially for those with joint sensitivity. We found research from the Arthritis Foundation suggesting that gentle, rhythmic movement can help soothe stiff joints (Arthritis Foundation).
Other benefits include:
- Space Efficiency: Gliders often require less clearance than a traditional swing.
- Safety: The contained motion can feel more secure, particularly for families with small children or pets nearby.
- Modern Aesthetic: A glider mechanism gives a classic swing a updated, contemporary look.
Essential Pre-Conversion Checklist
Before you buy any hardware, you must assess your existing swing and space. Rushing this step is the most common mistake we see people make.
- Weigh Your Swing: Check the manufacturer’s label or use a bathroom scale. The glider kit must support your swing’s total weight.
- Measure the Frame: Note the width and depth of your swing’s seat frame. You need a kit that fits these dimensions.
- Check Mounting Points: Examine the porch beam or ceiling. Ensure it is structurally sound for dynamic movement.
- Assess Clearance: Measure the space in front of and behind the swing. You need at least 24 inches of free space for the glider’s path.
- Gather Tools: A drill, level, wrench set, and measuring tape are non-negotiable.
Choosing Your Glider Hardware Kit
You cannot use just any bracket. The hardware is the heart of the conversion. These kits typically include heavy-duty arms, bearings, and all necessary fasteners. We found that kits vary mainly in their motion range and weight capacity.
Comparing Common Glider Kit Types
| Kit Type | Best For | Key Feature |
|---|---|---|
| Standard Linkage Kit | Most wooden swings | Provides a classic, wide glide path. |
| Heavy-Duty Bearing Kit | Larger or heavier swings | Uses ball bearings for smoother motion under load. |
| Compact/Indoor-Style Kit | Tighter spaces | Offers a more contained, shorter motion. |
Pro Tip: Always choose a kit with a weight rating at least 50 pounds higher than your measured swing weight. This provides a crucial safety margin.
Step-by-Step Conversion Process
This process generally takes 2-4 hours. Clear your porch and lay out all parts and instructions first.
Step 1: Disassemble the Old Swing
Remove the chains or ropes connecting the swing seat to its mounting points. Keep the seat intact. You will likely need to remove the back and arm supports from the seat frame to attach the new hardware. Take photos before disassembly for reference.
Step 2: Assemble the Glider Frame
Most kits require you to build a simple base or frame that attaches to the porch beam. Use a level meticulously here. An unlevel base will cause the glider to drift or bind. Secure the main pivot bar to the mounting points using the provided lag bolts.
Step 3: Attach Arms and Connect the Seat
Connect the upper and lower glider arms to the pivot bar. Then, attach the seat frame to the lower arms. This is a critical alignment step. We found that temporarily clamping pieces in place before final tightening helps ensure a perfect fit.
Step 4: Test and Adjust
Before final reassembly of cushions or cushions, test the motion. The glide should be effortless and quiet. If it squeaks, check for loose hardware or parts rubbing. A small amount of silicone lubricant on the pivot points can work wonders.
Safety and Structural Integrity
Your safety is paramount. Never modify a glider beyond its designed capacity. The dynamic forces of a moving swing place stress on mounts that a static swing does not.
Many guidelines point to regular inspection as a key safety practice (Consumer Product Safety Commission). You should routinely check:
- Mounting Bolts: Ensure they are tight and show no signs of wood cracking around them.
- Pivot Points: Look for wear on the bearings or bushings.
- Wood Condition: Check for rot, especially at attachment points.
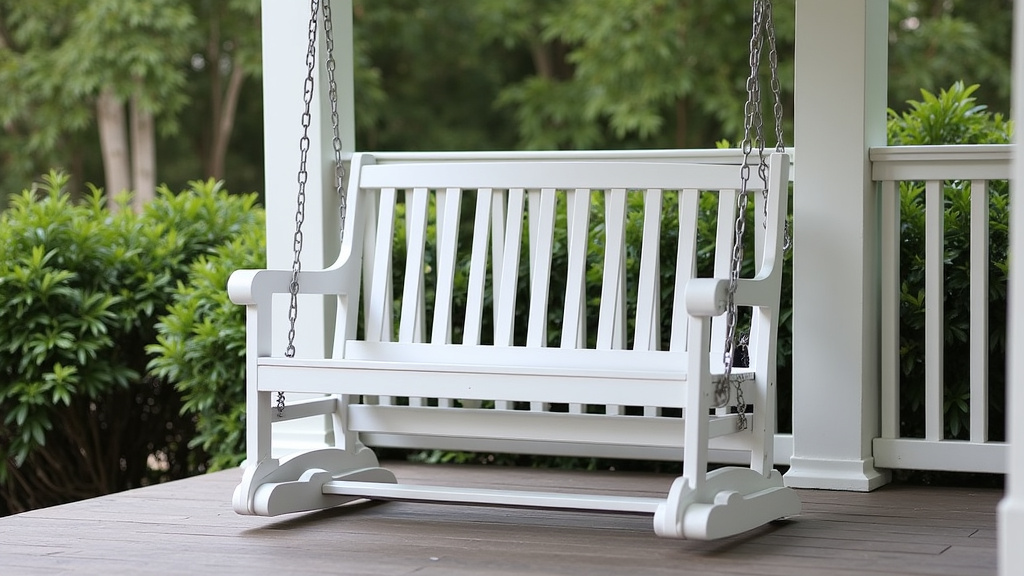
Weight Capacity and Your Safety
This cannot be overstated. The kit’s weight limit is not a suggestion. Exceeding it can cause catastrophic failure. Calculate the maximum potential load: your swing’s weight plus the weight of all the people who might sit on it at once.
When in doubt, always choose the heavy-duty option. We found that peace of mind is worth the extra cost. A well-made kit is an investment in long-term enjoyment.
Final Assembly and Personal Touches
Once the mechanism is tested and secure, reattach your seat back and armrests. Add your cushions and pillows. Now is the perfect time to refinish or repaint the swing frame while it’s disassembled.
Your converted glider is now ready. Sit down, give a gentle push with your feet, and enjoy the new, smooth sensation. You’ve successfully upgraded a classic piece of furniture.
Optional Enhancements
You can further improve your experience with a few additions:
- A Glider Cushion Set: Designed for the specific shape and motion of a glider.
- An Outdoor Throw Blanket: For cooler evenings.
- A Nearby Side Table: To hold your book and beverage within easy reach.
Converting Your Swing: A Quick-Reference Checklist
Use this list to keep your project on track from start to finish.
- Measured swing weight and frame dimensions.
- Purchased a glider kit with adequate weight capacity.
- Verified structural integrity of mounting beam.
- Confirmed at least 24 inches of clearance.
- Tested for quiet, smooth motion after assembly.
Conclusion
Converting your porch swing to a glider is a satisfying project that blends practical skill with enhanced comfort. You’ve learned that success hinges on accurate measurement, selecting the right weight-rated hardware, and methodical assembly. The smooth, horizontal motion offers a distinct upgrade, especially for joint relief and safer relaxation.
Your next step is clear: gather your tools, weigh your swing, and measure the space. With those numbers in hand, you can confidently choose a glider kit and begin transforming your outdoor space.
Frequently Asked Questions
How much does a glider conversion kit typically cost?
Prices generally range from $80 to $250. Basic linkage kits are at the lower end, while heavy-duty bearing kits for larger swings cost more. We found the mid-range kits offer the best balance of quality and value for most standard porch swings.
Can I convert a metal porch swing to a glider?
Yes, you can, but it requires careful attention. The glider arms must be compatible with your swing’s frame shape and thickness. You may need to drill new attachment points. Always check that the kit’s hardware is designed for or can be adapted to metal frames.
Is this project difficult for someone with basic DIY skills?
We found it’s moderately challenging, not overly difficult. The key is patience and following instructions step-by-step. You should be comfortable using a drill, level, and wrench. If you can hang a standard swing safely, you likely have the necessary skills for this conversion.
How much maintenance does a glider mechanism need?
Minimal but important maintenance. Check all bolts for tightness seasonally. Clean dirt from the pivot points and apply a silicone lubricant once a year to keep motion quiet and smooth. Inspect bearings or bushings for wear every couple of years.
Can I reverse the conversion and go back to a regular swing?
In most cases, yes. The original mounting holes on your porch beam may be covered by the glider frame, but you can usually remove the glider hardware. You might need to fill old holes or install new mounting blocks to re-hang the swing with chains or ropes.