
What Is a Retro Porch Swing? Quick Fixes
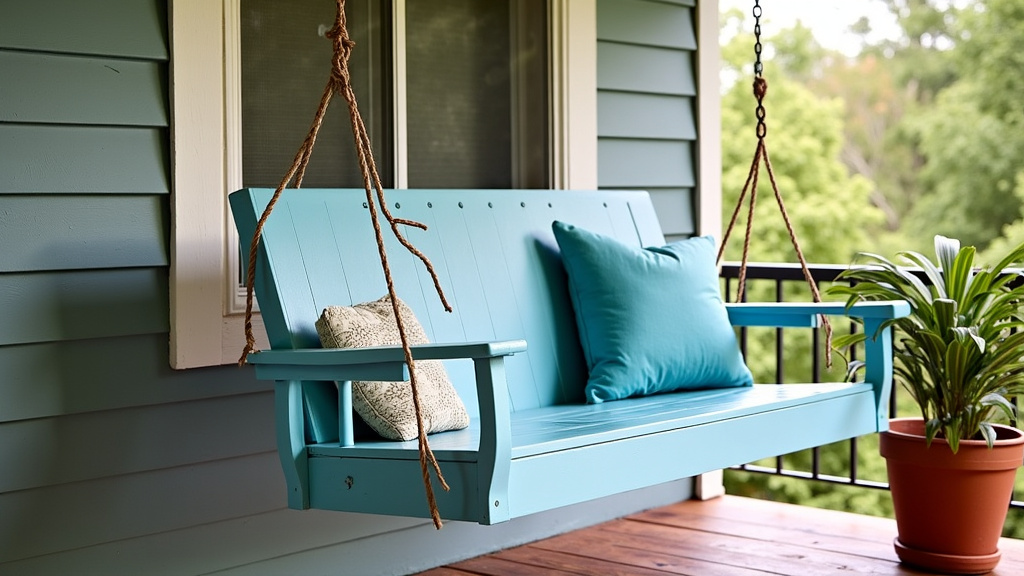
A retro porch swing is a charming, classic seating option that evokes a sense of nostalgia. It’s a hanging seat, often made of wood or metal, designed to be suspended from a porch ceiling or stand. These swings are perfect for adding a touch of vintage appeal to your outdoor space and creating a relaxing spot.
You might be wondering about quick fixes for common issues like squeaks or wobbly chains. Many owners find that simple maintenance can restore their swing’s smooth motion. We’ve researched common problems and found that easy solutions are often readily available without needing major repairs.
- Retro porch swings add vintage charm.
- They are typically hanging seats.
- Fixes often involve simple maintenance.
- Squeaks and wobbly chains are common issues.
- Quick solutions are usually within reach.
Ready to get your beloved retro porch swing back in tip-top shape? Let’s walk through some common issues and how you can tackle them with confidence.
Keeping Your Retro Porch Swing in Top Shape
Your retro porch swing is more than just a place to sit. It’s a connection to a simpler time. Maybe it’s seen a few decades of sunny afternoons and starlit evenings. Over time, even the most sturdy swings can develop little quirks. Don’t worry, though! Most common issues are pretty easy to fix. We’ve looked into common problems and found that simple, hands-on solutions can bring your swing back to its former glory.
Troubleshooting Common Retro Porch Swing Issues
Let’s face it, porch swings are out in the elements. They endure sunshine, rain, and the general wear and tear of outdoor living. This means some minor issues are bound to pop up now and then. The good news is that you usually don’t need to be a master carpenter or a seasoned mechanic to handle them.
The Annoying Squeak: What’s Making That Noise?
Ah, the dreaded porch swing squeak. It’s often the first sign that your swing needs a little attention. This sound usually comes from friction. It happens where different parts of the swing rub against each other. Think of it like your knees after a long hike – sometimes they just need a bit of lubrication!
Identifying the Source of the Squeak
To fix a squeak, you first need to find out where it’s coming from. Often, it’s the **metal eyelets** where the chains attach to the swing. It could also be where the swing arms connect to the seat or back. Sometimes, it’s the **hanging hardware** itself. Give your swing a gentle push. Listen closely. Try to pinpoint the exact spot where the noise originates. This will save you time and effort.
Quick Fixes for Squeaky Swings
Once you’ve found the squeaky spot, the solution is often simple lubrication.
- Lubricate Hanging Points: For metal-on-metal squeaks, a good quality **lubricant** is your best friend. You can use WD-40, silicone spray, or even a few drops of motor oil. Apply it directly to the moving parts. Work the swing back and forth to let the lubricant spread. You might need to reapply it after a few uses.
- Check for Loose Hardware: Sometimes, a squeak isn’t about friction but about **loose connections**. Tighten any bolts, nuts, or screws connecting the swing’s components. Ensure everything is snug but not overtightened, which could damage the wood or metal.
- Wooden Swings: If your swing is made of wood, the squeak might come from wood pieces rubbing together. A bit of **beeswax or paraffin wax** can help. Rub it into the joints where the wood pieces meet. This can create a smoother surface and reduce friction.
Wobbly Chains and Hardware: Ensuring Stability
A wobbly porch swing can be unsettling. It’s not just about the noise; it’s about safety. Loose chains or unstable mounting points can put your swing at risk. Let’s make sure your swing is as **secure as a bear hug**.
Inspecting Chains and Hangers
Begin by carefully examining the chains. Look for any signs of **wear and tear**. Are there any links that seem stretched, bent, or rusted through? Check the S-hooks or carabiner clips that attach the chains to the swing. Ensure they are closed securely and aren’t showing signs of stress. Next, look at your porch ceiling or stand hardware. Are the hooks or mounting brackets firmly attached? Do they look secure in the wood or beam?
Tightening and Securing Loose Connections
If you find any loose bolts or screws in the mounting hardware, tighten them. Make sure they are anchored well into the structural support. For chains, sometimes the links can loosen over time. You might need a pair of **pliers** to gently crimp any open links closed. This helps maintain the chain’s integrity. If the S-hooks seem to be opening up, consider replacing them with **new, sturdy S-hooks** or secure carabiner clips.
When to Consider Replacement Hardware
Rust and significant wear are not to be ignored. If your chains show deep rust, especially on the inside of the links, they might be weaker than they look. Similarly, if the hanging hardware looks corroded or damaged, it’s time to think about replacement. Safety is key. Using **new, appropriate-grade hardware** will give you peace of mind. Many hardware stores carry specific porch swing hanging kits.
Addressing Weathered Wood and Faded Finishes
Your swing braves the elements daily. Over time, this can lead to the wood looking a bit tired. The finish might fade, or the wood itself could show signs of weathering. Restoring its beauty is often simpler than you think.
Cleaning Your Wooden Swing
First things first: a good clean. You can use a mild soap and water solution. A soft brush or cloth works well for scrubbing. For stubborn dirt or mildew, a solution of one part bleach to three parts water can be effective. Always rinse thoroughly with clean water. Let the swing **dry completely** before moving on to any refinishing steps. Ensure you wear gloves and eye protection when using cleaning solutions.
Sanding Away Imperfections
Once clean and dry, you might want to do some light sanding. This smooths out rough spots and prepares the surface for a new finish. Use **medium-grit sandpaper** (around 100-150 grit) to start. Then, follow up with finer grit sandpaper (around 220 grit) for a smoother feel. Always sand in the direction of the wood grain. Wipe away all dust with a tack cloth or a damp rag. This step makes a world of difference in the final look.
Applying a Protective Finish
To protect your swing and give it a fresh look, apply a new finish. Exterior-grade **stain or paint** is ideal. Stain soaks into the wood, bringing out its natural beauty while offering protection. Paint offers a more opaque, solid color. Apply thin, even coats. Follow the manufacturer’s instructions for drying times between coats. A good sealant or topcoat can add an extra layer of protection against moisture and UV rays.
Minor Repairs: Fixing Small Cracks or Chips
Sometimes, your swing might have a small crack or a tiny chip in the wood. These are usually cosmetic, but it’s good to address them. This prevents them from getting worse and keeps your swing looking its best.
Wood Filler for Minor Damage
For small cracks or chips, **wood filler** is your go-to solution. Choose a filler that matches your wood’s color, or one that can be stained or painted. Apply the filler according to the product’s directions. Use a putty knife to smooth it into the damaged area. Overfill slightly, as wood filler can shrink a bit as it dries. Once dry, you can sand it smooth to match the surrounding wood. Then, you can stain or paint over it.
A Quick Checklist for Swing Maintenance
Want to keep your retro porch swing in great shape year-round? Here’s a simple checklist to help you out:
- Regular Cleaning: Wipe down your swing periodically.
- Lubricate Moving Parts: Address squeaks early.
- Check Hardware: Ensure all bolts and chains are secure.
- Inspect for Damage: Look for cracks, chips, or excessive rust.
- Reapply Finish: Refresh the paint or stain as needed.
Taking a few moments to perform these simple checks and fixes can significantly extend the life of your cherished retro porch swing. It ensures it remains a safe, comfortable, and beautiful spot for relaxation for years to come. After all, isn’t that what a porch swing is all about?
Conclusion
You’ve learned how to tackle common issues with your retro porch swing. Addressing squeaks with simple lubrication or tightening loose chains can restore peace and stability. Restoring weathered finishes and fixing minor cracks keeps your swing looking its best and extends its life. By following these quick fixes and regular maintenance tips, you ensure your swing remains a safe and inviting spot for years. Take a moment this week to give your swing a little TLC, and get ready to enjoy those relaxing porch moments again.
Frequently Asked Questions
How often should I lubricate my porch swing?
You should lubricate your porch swing whenever you hear squeaking. For swings used frequently, a quick check and reapplication every few months can prevent squeaks from starting. It’s a small step that makes a big difference in enjoyment.
Can I use any type of lubricant on my swing?
For metal-on-metal friction, a good quality lubricant like WD-40 or silicone spray is effective. For wood-on-wood contact, beeswax or paraffin wax is a gentler option. Avoid using lubricants that could damage the finish or attract excessive dirt.
What’s the best way to check if my swing’s chains are safe?
Carefully inspect each link for signs of rust, bending, or stretching. Check that the S-hooks or carabiner clips are securely closed. If you notice any significant damage or deep rust, it’s safer to replace the chains or hardware.
My wooden swing has a small crack. What’s the easiest way to fix it?
For small cracks, wood filler is usually the easiest solution. Apply it with a putty knife, slightly overfilling the crack. Once dry, sand it smooth to match the surrounding wood. You can then paint or stain over the filler to blend it in.
How do I know when to replace porch swing hardware instead of just tightening it?
If the mounting brackets or hooks show deep corrosion, cracking, or significant rust, it’s time for replacement. Likewise, if chain links are severely worn or damaged, replacing them is essential for safety. Never hesitate to replace hardware that looks compromised.